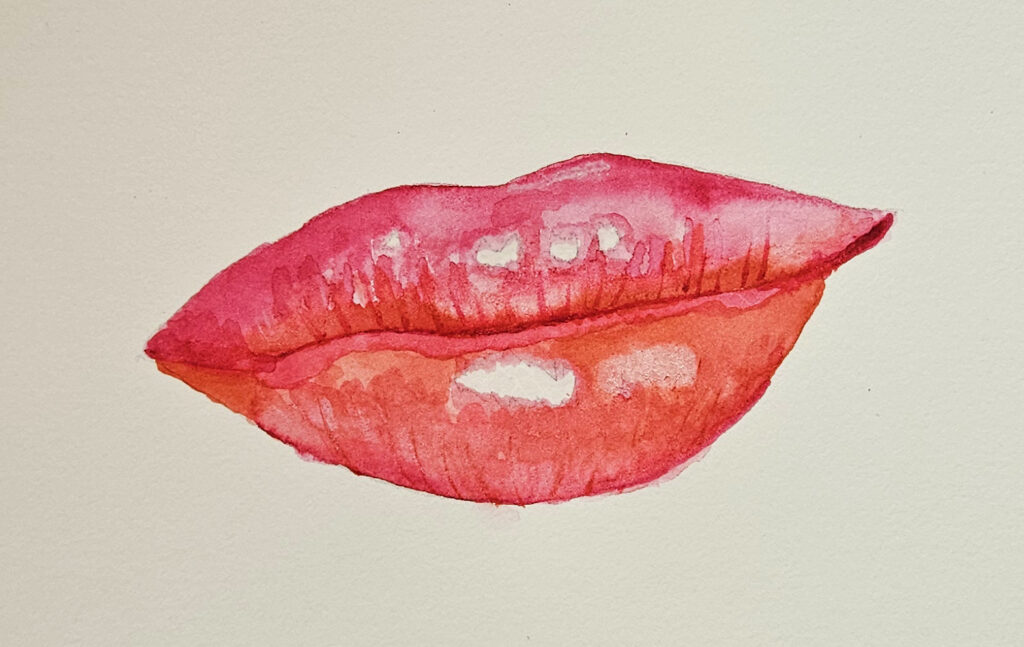
Here are my luscious watercolor lips! Well, they are not my lips but I did enjoy painting them. After I drew some graphite lips for the TADD art prompt of “Lips” this week, I was lip-crazy so I thought I’d try to paint some.
My List of Art Lessons on YouTube
On my YouTube channel Rain Frances Art, I offer drawing and painting lessons. Some are time-lapsed and there are shorts there, but the majority now are real-time. Click on this link and it will bring you to my index page where you can browse through over one hundred drawing and painting lessons!
The Supplies I Used To Paint “My” Lips
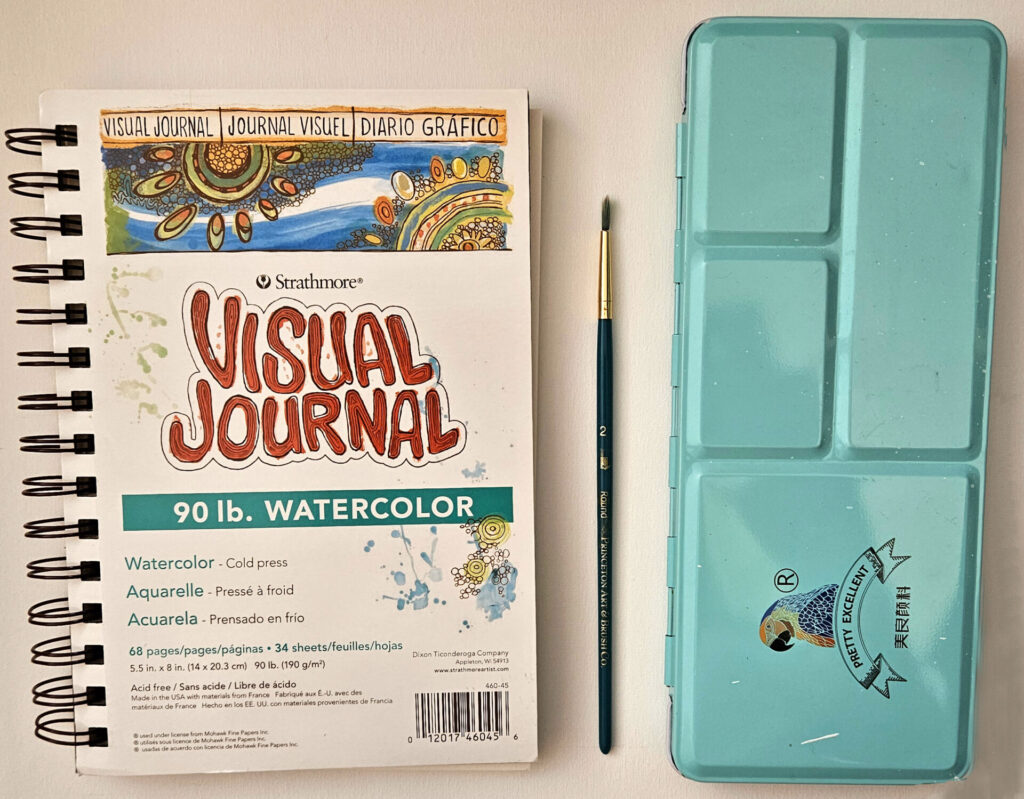
I love these Visual Journals! I have a bunch of them. This time I pulled out the watercolor paper. I only used one brush, a #2 round. And I used my pan watercolor paints.
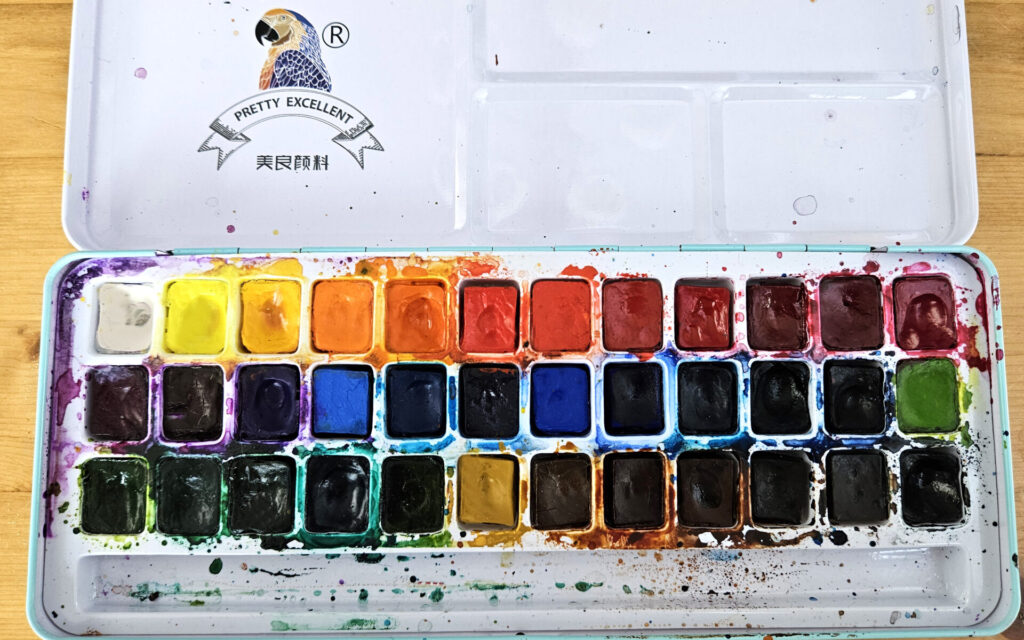
The brand of paints I have is called “Pretty Excellent”. I love them! I found them on Amazon years ago and I use them very often – they seem to last forever. The colors are very vibrant!
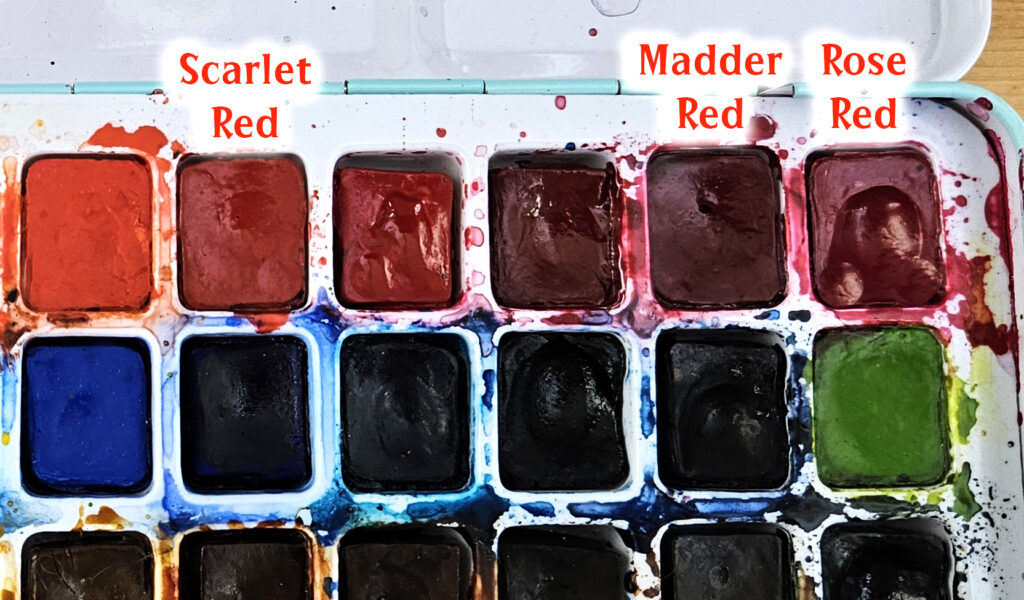
I used three hues of red to paint my watercolor lips. I wanted to show you a closeup of the paints because we don’t always have the same colors. I used Rose Red, Madder Red and Scarlet Red. I think if you have a red that is on the pink side, that would substitute for the Rose Red. The Madder Red is a darker red and the Scarlet Red has an orange hue to it.
My Painting Process
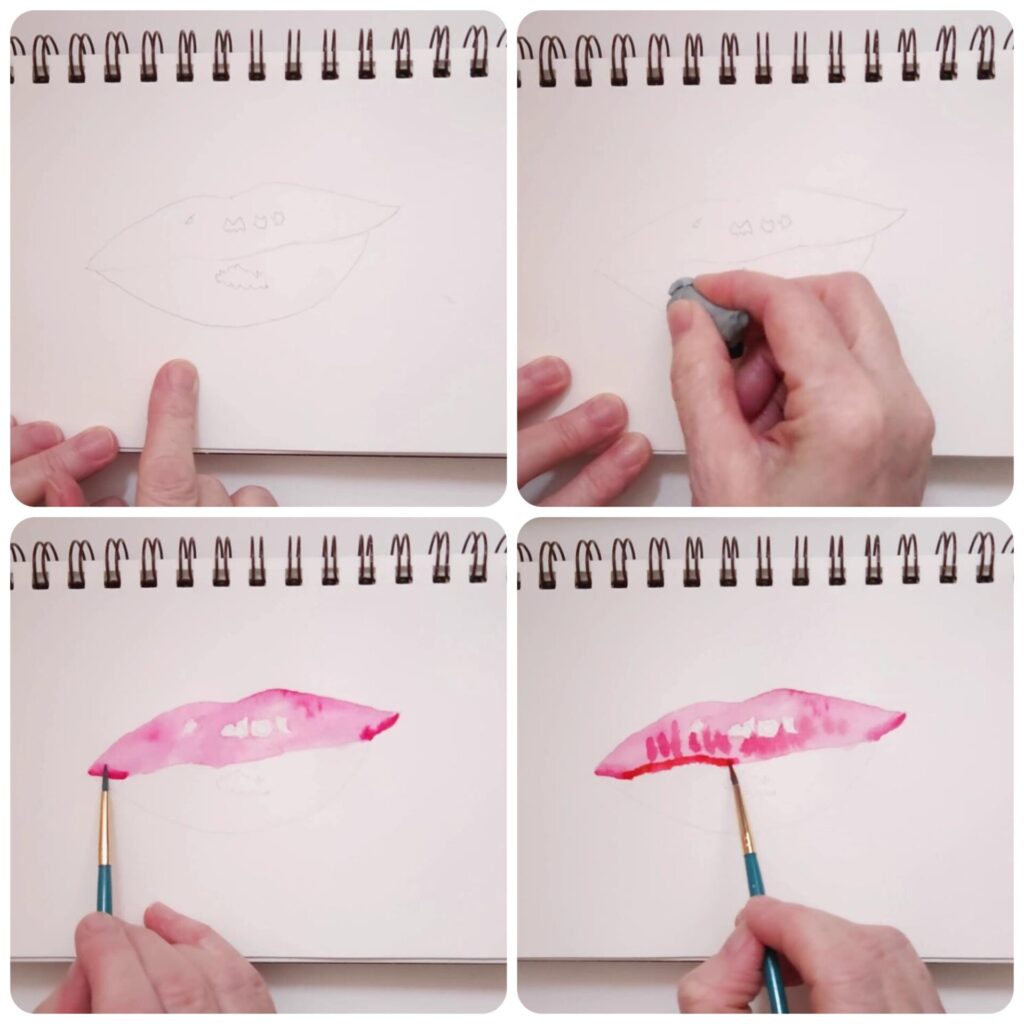
The first thing I did was draw a very rough pair of lips onto my watercolor paper. I took a photo of this stencil and made it into a downloadable PDF if you’d like to use it! Then, I used my kneaded eraser to gently press down on the outline and lift excess graphite off the paper. I don’t like seeing graphite under watercolor, but that’s just me. I started with the Rose Red, wet on wet, to add color to the top lip. I used Madder Red to draw some contour lines on the upper lip. Where the lips meet, I used Scarlet Red. I was careful not to paint any color in the areas where I outlined for the highlights.

I continued by painting contour lines on the upper lip and shading the top of the lower lip. Then, I painted the lower lip with Scarlet Red, avoiding those areas I outlined for the highlights.
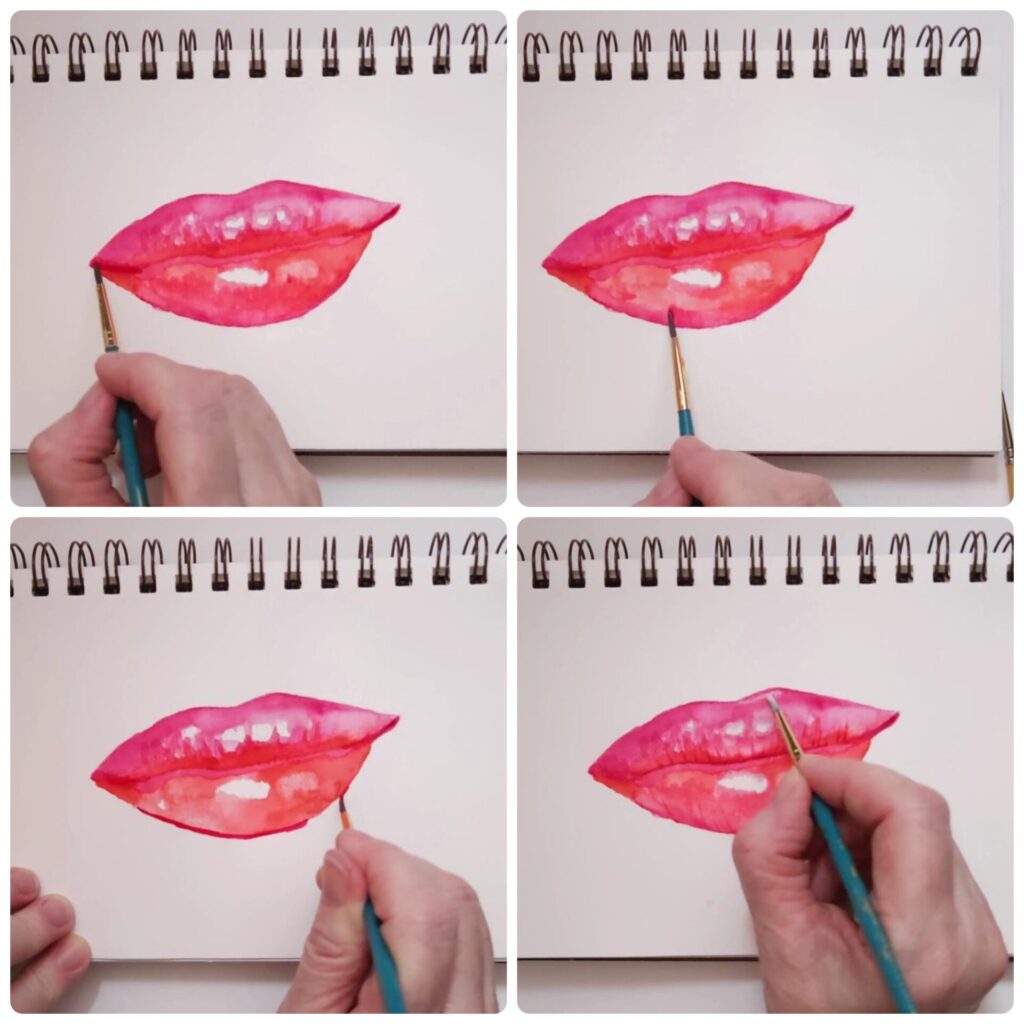
I painted the lips around the sides of the mouth to darken them, blending with water. I added more dark shading under the lower lip then added white to the highlighted areas.
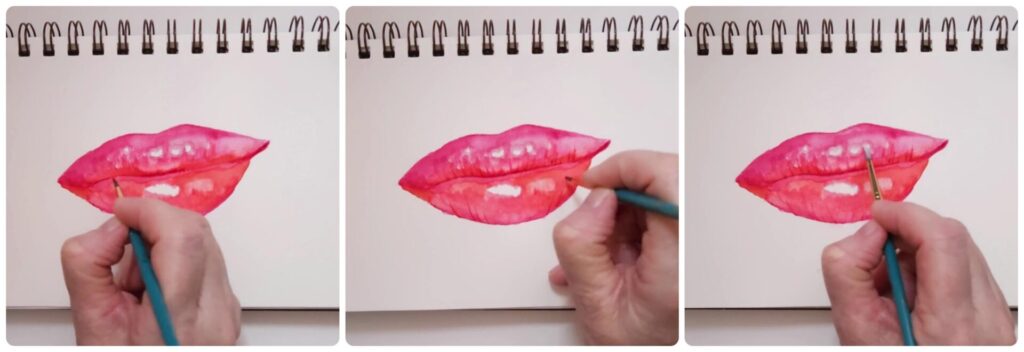
The final touches were to darken the line where the lips meet, add contour lines on the lower lip, and then make the highlights a little brighter using white paint.

And my lips are all puckered up, ready for a kiss! ☺
Real-Time Art Lesson and Supply List
If you’d like to try painting my lips, I have the real-time art lesson on my YouTube channel Rain Frances Art. The video is about half an hour long. Here are the supplies you’ll need:
- Watercolor paper, I used Visual Journal 90 lb watercolor paper, 5.5” x 8”
- Watercolor paints: pinkish-red, dark red, orange-red, I used Rose Red, Madder Red and Scarlet Red
- #2 round brush
- My printable stencil and a kneaded eraser (optional)
Let me know in the comments if you tried my Watercolor Lips painting tutorial!


